3D week 5

Right! It’s been a stressful week after Dreamhack, but I think I’m finally beginning to catch up again! So here we have the final version of the crate with the Diffuse map, Specular map and Normal map included.

Final crate blog1 Final crate blog2 Final crate blog3

And here is the crate without normal map or specular map for comparison!

Crate textured Diffuse

So what are the main differences with and without normal and specular maps? Well, firstly the normal map adds more depth to certain areas, the darker areas. this helps this particular crate in separating the individual planks a lot more. Originally it was more obvious that those were just black lines, but now it looks a bit more like a space in between the planks. It also adds a tad bit of that same depth to the spotted areas in the wood. This is only a optical illusion though, and if the crate were to be in a game and the player looked at it from certain angles, it would be obvious that the surface is flat. That’s why it’s important to consider the ”role” of the item before leaving everything up to the normal map. For an example, if this wasn’t a crate but rather a weapon in an FPS game, leaving too much up to Normal maps would be hurtful because the player will always be closely inspecting that weapon.

What the specular map has added is ”Shine” to the object. This is clearly vissible in the inner parts of the crate on picture one and 2 and is very visible on the entire left side of picture 3. The specular map is important since it is the main thing that will help the object reflect light. If you look at the ”original” picture (picture number 4) that has no specular map, it isn’t reflecting any light what so ever, this would probably make the crate look out of place and strange if it was put into a game.

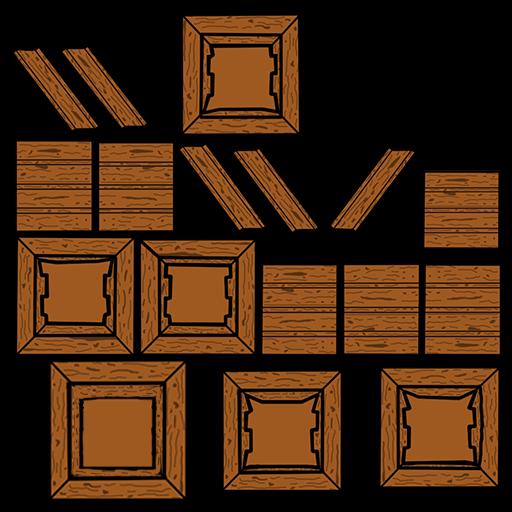
The diffuse map is simply the texture itself, it’s where the object gets all of it’s color and details. Without the diffuse map, the crate would be far harder to recognize as a crate.
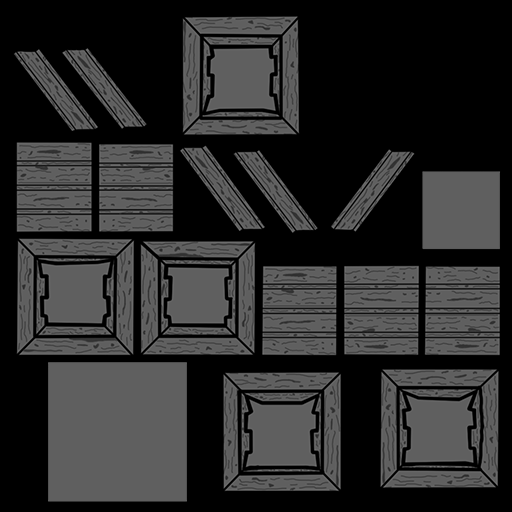
Without the diffuse, leaving only the normal map and specular map the crate would look something like this:

Crate blog example 1 
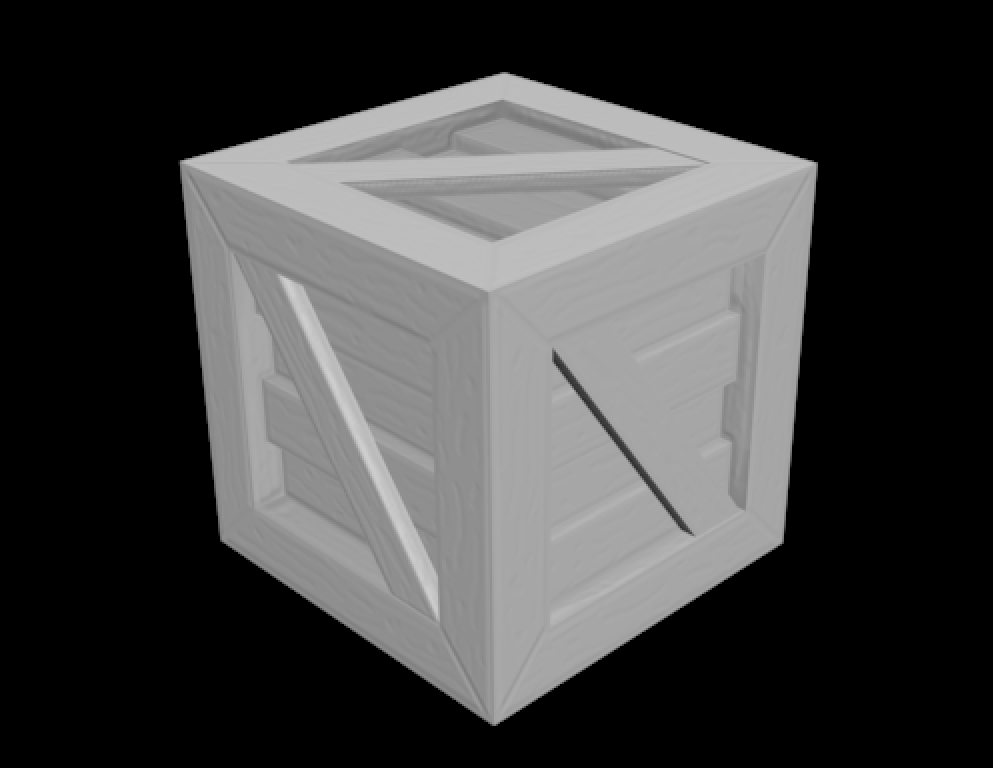
(on this picture the work that the normal map does is more obvious as well)

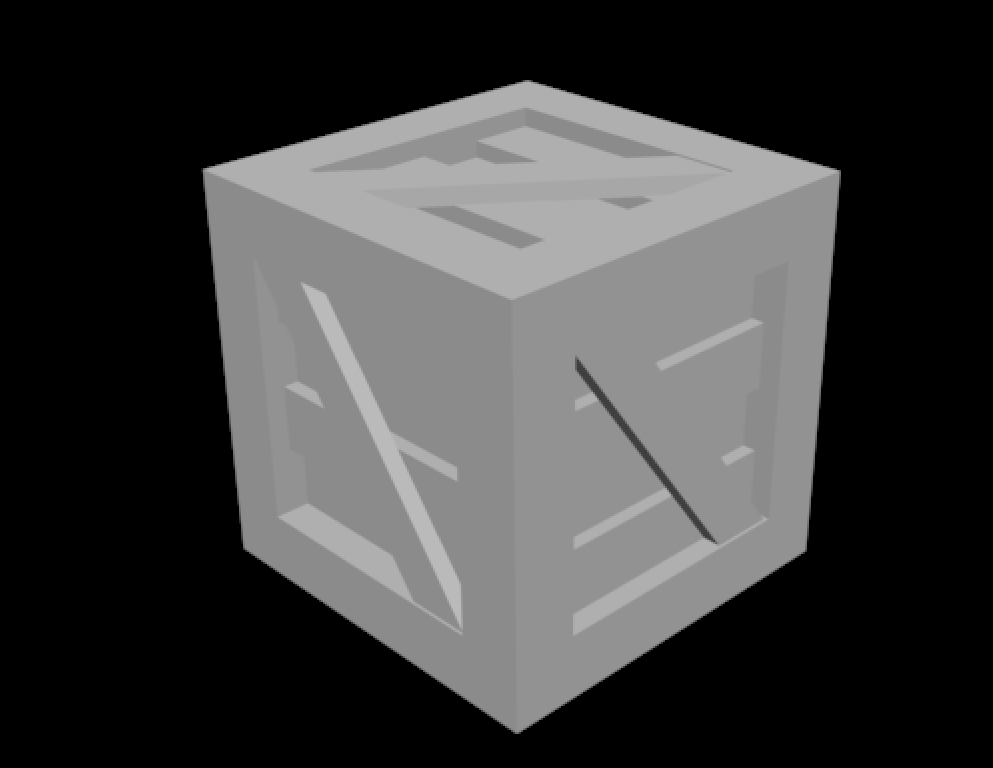
And without any of the maps the crate would look something like this:

Crate blog example 2


So to summarize: The diffuse map adds in color and details. The normal map adds in ”bumps” and gives certain areas more depth and enhances the details on the object. The specular map adds in the shine of the object and can help define the edges and help identify materials in objects (a screw for an example is shinier than wood).


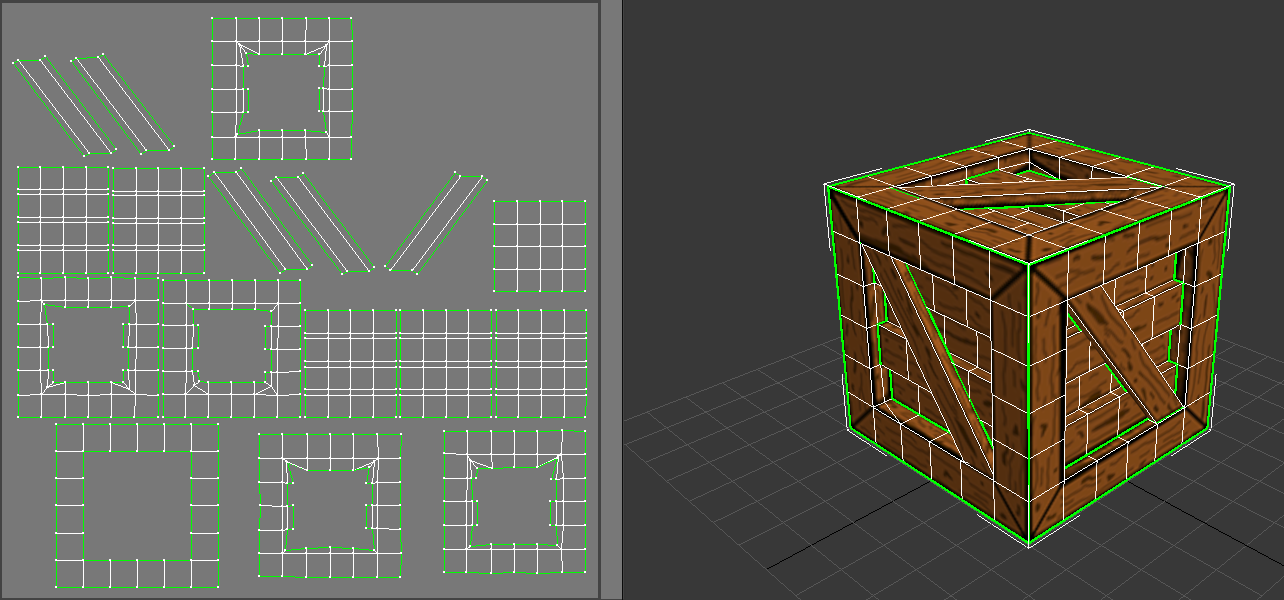
And here’s how the three different maps look:

Diffuse map
Difuse Crate UVtextured

Normal map
Crate Normal map rescaled
This picture clearly shows the details added to the black lines when rendered with the normal map included. The darker areas from the specular map become ”bumps”.

Specular map
Specular crate rescaled

The lighter areas in the specular map reflect more light than the darker areas.


Well, that’s it for this weeks blog post!

3D week 4

For week 4 we have textured the crate that we optimized! This blog post is coming out a little bit later than I had originally hoped since I went to Dreamhack, and in doing so I lost a couple of days worth of 3D practice.

When I was looking at my crate, I felt like I wanted to really distinguish the separate planks really well. The way I decided to go about this was by marking the edges of the planks with thick black lines, this ended up giving the crate a cartoon-ish look so I decided to roll with it and try to let the textures reflect that. The things that contributed to that look was both the colors I chose to work with (two shades of brown with black outlines) and also the way that I drew the markings on the wood. The dominant color is a light brown color, I decided to go with this color after looking at several different wood textures, most of these were either too dark, too grey or looked too ”waxed” (in lack of better words) but eventually I found one with a color I liked and decided to go with it. Also, since the crate is made up entirely out of wood, I wasn’t really left with an infinite amount of possibilities color wise so it all just came down to testing until I found one that matched what I had in mind.

The colors are both highly saturated, warm colors (the darker one is slightly more saturated than the lighter one) and mainly differ in the darkness of the color.

When I started trying to figure out how to make the textures, I looked through something like fourteen different pictures of planks and wood textures, I kept them on the side to have constant references to see how make the darker areas of the planks. I did this because I realized that creating those areas was really difficult, especially since I had to try and keep them somewhat random. Creating anything randomly when drawing is REALLY hard, if my mind slips for just a second it ends up looking too uniform and I didn’t want this (I know that regular planks can have constant markings, but this was not my wish for these planks). An example is that some of the dark spots in the wood ended up looking like hearts, but I didn’t mind that too much since I have seen that in real planks as well.

Since I had around 37 or so, planks to texture, I realized that it would almost be too time consuming to make each plank individually so what is shown in these pictures are something like 10 different planks that have been flipped, turned around and had slight changes to them. I was hoping that this would be something that is practically unnoticeable, it’s hard for me to judge how visible it is since I made them and when I look at them it’s almost instantly visible. But so far I haven’t had anyone of the people I’ve shown it to point it out to me so hopefully it works!

And here’s what the diffuse texture looks like, the UV with wireframe next to it and how the texture looks rendered. I was supposed to show the rendered version in UDK or Unity, but unfortunately UDK didn’t load my textures and I was unable to download unity, so instead, the rendered version is from 3Dsmax. The post for week 5 will probably have the same issues.

Difuse Crate UVtextured Wireframe+UV Crate textured Diffuse

The post for week 5 will be posted in a little while as well!